ダウンロード WiFi Priority
- カテゴリ: Utilities
- 現在のバージョン: 1.5
- ファイルサイズ: 1.64 MB
- 互換性: iOSが必要です Windows 11, Windows 10/8/7/Vista
APK -PC用 - ダウンロード
| ダウンロード | 開発者 | 評価 | ファイルサイズ (MB) |
|---|---|---|---|
| ダウンロード Apk | Robert Botha | 1874 | 203k |
OK。 最初のものが最初に。 お使いのコンピュータでアプリケーションを使用するには、まずMacストアまたはWindows AppStoreにアクセスし、Bluestacksアプリまたは Nox App Web上のチュートリアルのほとんどはBluestacksアプリを推奨しています。あなたのコンピュータでBluestacksアプリケーションの使用に問題がある場合は、簡単にソリューションをオンラインで見つける可能性が高くなるため、推奨するように誘惑されるかもしれません。 Bluestacks PcまたはMacソフトウェアは、 ここ でダウンロードできます。.
あなたが選択したエミュレータをダウンロードしたので、コンピュータのダウンロードフォルダに移動して、エミュレータまたはBluestacksアプリケーションを探します。
見つかったら、クリックしてアプリケーションまたはexeをPCまたはMacコンピュータにインストールします。
[次へ]をクリックして、ライセンス契約に同意します。
アプリケーションを正しくインストールするには、画面の指示に従ってください。
上記を正しく行うと、エミュレータアプリケーションが正常にインストールされます。
これで、インストールしたエミュレータアプリケーションを開き、検索バーを探します。 一度それを見つけたら、 WiFi Priority を検索バーに入力し、[検索]を押します。 クリック WiFi Priorityアプリケーションアイコン。 のウィンドウ。 WiFi Priority - Playストアまたはアプリストアのエミュレータアプリケーションにストアが表示されます。 Installボタンを押して、iPhoneまたはAndroidデバイスのように、アプリケーションのダウンロードが開始されます。 今私達はすべて終わった。
「すべてのアプリ」というアイコンが表示されます。
をクリックすると、インストールされているすべてのアプリケーションを含むページが表示されます。
あなたは アイコン。 それをクリックし、アプリケーションの使用を開始します。
こんにちは。 Macユーザー!
使用する手順 WiFi Priority - Macの場合は、上記のWindows OSのものとまったく同じです。 Nox Application Emulator をインストールするだけです。 あなたのMacintosh上のBluestack。 ここ で入手できます。
WiFi Priority iTunes上で
| ダウンロード | 開発者 | 評価 | スコア | 現在のバージョン | アダルトランキング |
|---|---|---|---|---|---|
| ¥120 iTunes上で | Florian Schimanke | 9 | 3 | 1.5 | 4+ |
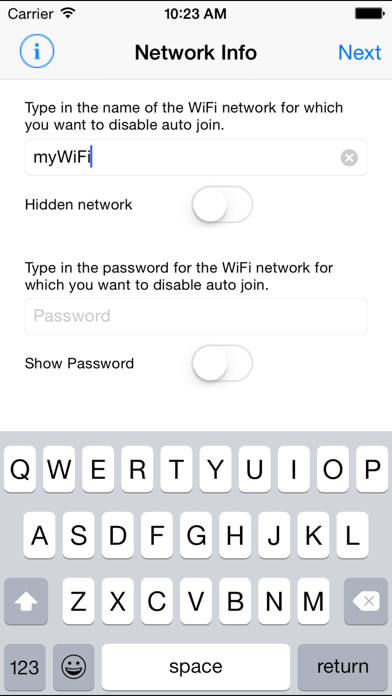
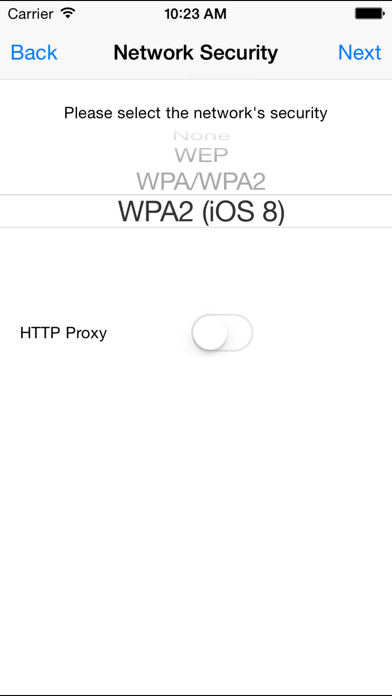
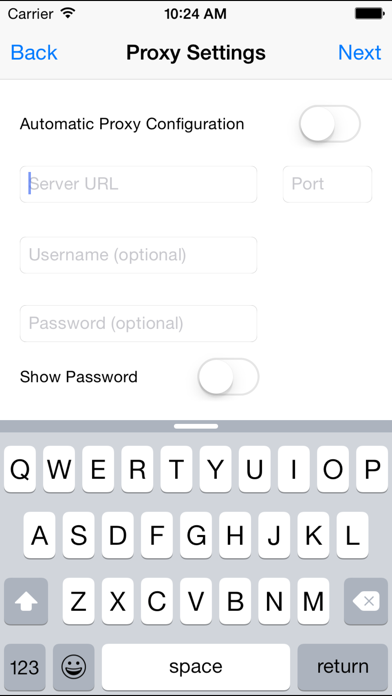
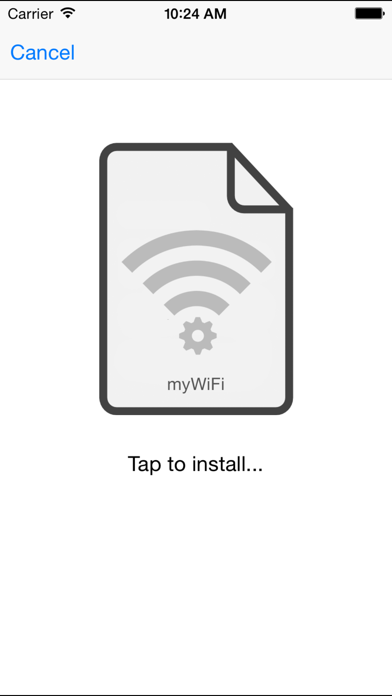
With “WiFi Priority“ it is finally possible to prioritize to which available network to connect first! Generally all iOS devices rank available WiFi networks alphabetically and connect to the topmost known network in that list first. However, there are situations in which you may want to avoid that and prefer to connect to another known network instead. This is where “WiFi Priority“ comes to your aid. It simply lets you disable the auto-join function for selected networks and thus prioritize the one that you prefer by creating and installing a configuration profile on the device. Instead of making your device forget the topmost networks you can now prevent them from automatically connecting first. Just enter the network information for the networks you don’t want to auto-connect and let “WiFi Priority“ do the rest. Afterwards your preferred available network will always connect first and you will still be able to use the other networks by just tapping on them in your network list. You may also like my other apps: - AnyFont - Lightning Deals Reminder - Long-2-Short NOTE: WiFi Priority does currently not work with enterprise encryption. Supported encryptions are WEP, WPA-Personal and WPA2-Personal. ————— If you like this app, please consider leaving a review on the app store. This can also be done by using the link on the info-screen within the app. Thank you! —————